Lilys digital portfolio

12 principles of animation
1) squash and stretch.
Squash and stretch is a classic technique. Its all about exaggerating motion
to make animations feel more dynamic and alive. An example of this is when
a bouncing ball squashes down when it hits the ground , then stretches as it
bounces back up. It gives the animation a sense of weight and flexibility but
also It can help convey what the material that something is made of. In the
bouncing ball case, very little squash and stretch will indicate a firmer material, like a ping-pong ball or a bowling ball. A rubber ball, would naturally have more squash and stretch. The application of squash and stretch can be quite detailed when done with nuance and not just applied with a thick brush. Squash and stretch gives the illusion of gravity, weight, mass, and flexibility but also is a great sauce for making animations look more realistic and gives more expression whether its just the character moving their head or giving it emotion.
2) Anticipation.
Anticipation is the preparation for an action such as a jump or a punch. For example, a character will squat down before pushing his body and legs up into a jump. The stronger the anticipation motion, the more cartoony and fluid the animation will be. The smaller the anticipation and the more stiff the animation will be. Actions in animation happen very fast. For
example, throwing a ball can take only two or three drawings
to complete, which is not enough time for the audience to see
and grasp what is happening. However, if the character winds-
up and then pauses before the pitch, the events taking place
become a lot clearer to the viewers.
3) Staging.
Animation staging is one of the most important parts of the 12 principles of animation as it impacts how an audience observes a scene and comprehends the plot. Its all about ensuring that the important elements of the scene are given the spotlight and the less important
ones are toned down. its a principle that ensures the story is told in
the most effective and captivating way.
4)Pose-to-pose animation.
Pose to pose is a term used in animation, for creating key poses for characters
and then inbetweening them in intermediate frames to make the character
appear to move from one pose to the next. Animators stretch out the key
poses first then fill in transitions as it gives them control over timing and
coordination, ensuring the scene flows just right. Its crucial for complex movements and dramatic scenes where precision is key.
5)Straight-ahead Action.
Straight ahead is a term used in animation that refers to a method that uses only the first key pose of a character, and then continues drawing the character to create the desired motion. It contrasts with pose to pose animation except it does not use inbetweening. Straight ahead action is named that because the animator works straight ahead from the first drawing of the scene. You animate frame by frame from start to end, It's great for spontaneity and fluid, realistic movements. It's a good way of giving life to the characters you are animating, capturing the essence
of movement and change.
6)Follow-through action.
Follow through in animation is about the details that follow the main action, like a characters hair bouncing when they stop running. It adds a touch of realism and fluidity to animations, making them more lifelike and engaging. It is critical to have effective follow-
through action while producing any form of animation, whether
3D or 2D. If there is no follow-through motion, the animation will
look choppy and uncomfortable. To produce good follow-through
action, animators must consider physics principles such as inertia
and momentum.
7)Overlapping action.
Overlapping action is the principle that different parts of a body move at
different rates, like a dog wagging its tail while running. It adds depth and
dynamism, making the animations more lively and engaging. It is
different parts of the character moving at different times. Another
example is how a dancers outfit would move to the way they do adding
complexity and a sense of realism. Similar to follow-through action, not
adding these can make your animation stiff, giving the animation no life and emotion.
8)Slow-in and slow-out.
‘Slow In’ and ‘Slow Out’ is a term commonly used in animation that refers to a critical principle: an item or figure in an animated film begins moving slowly, accelerates, and then decelerates. It is the movement of the object or character’s beginning and end are mellowed.
9)Arcs.
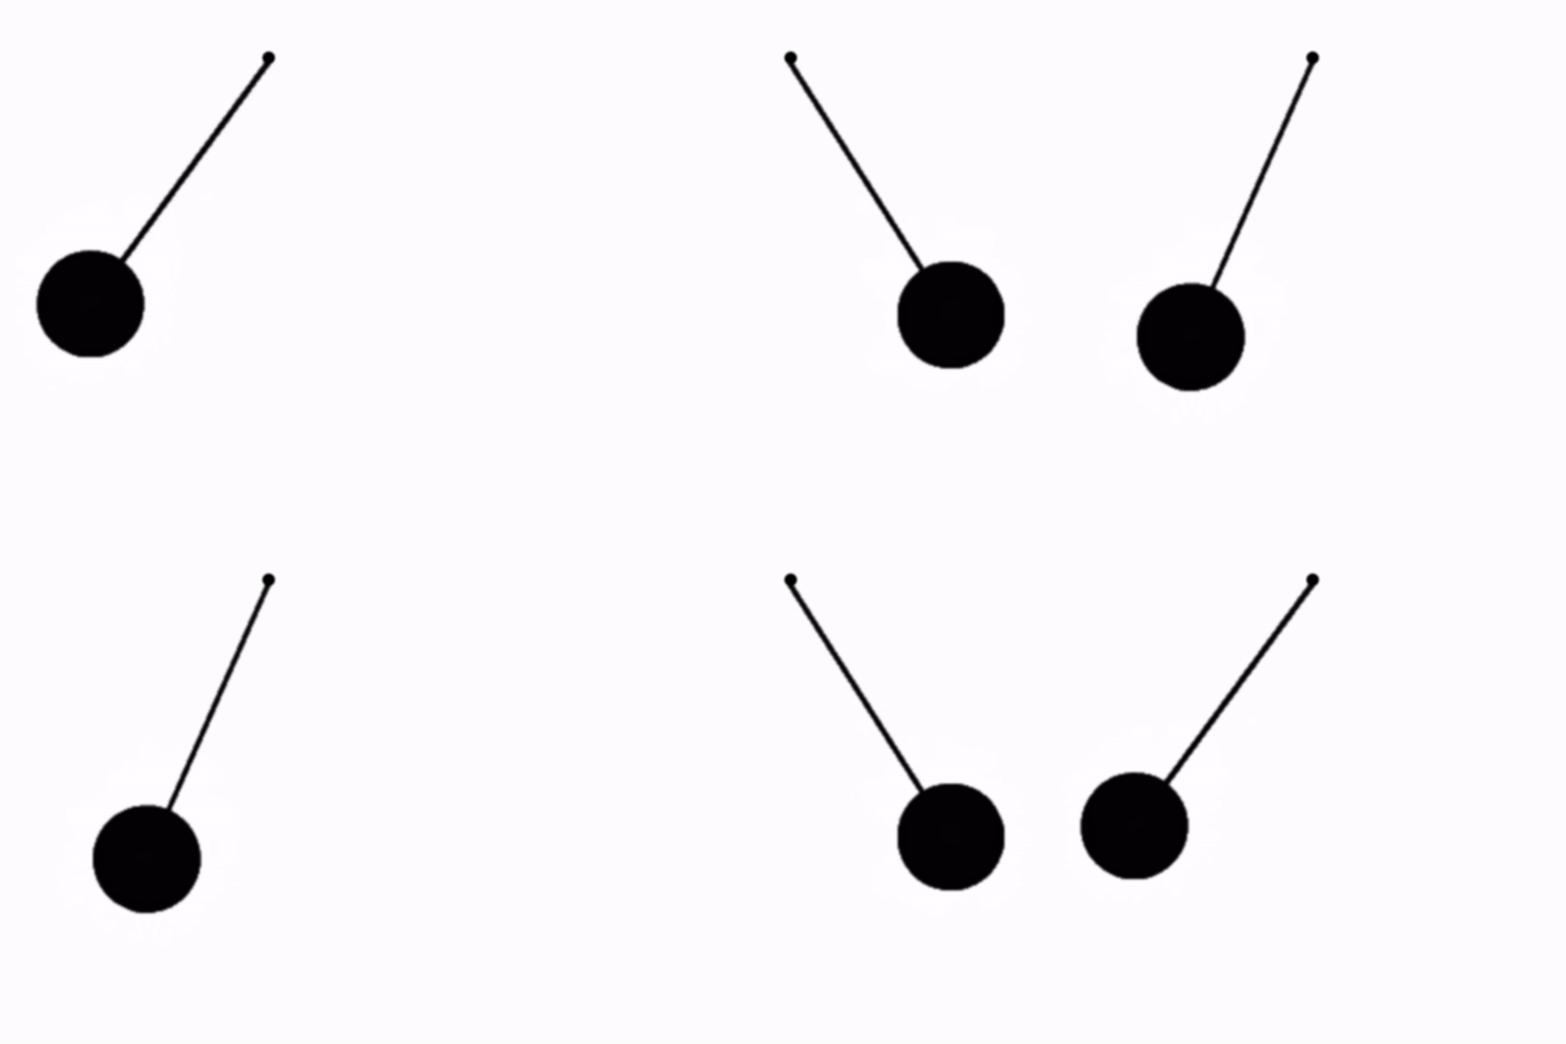
Arc is the movement in circular paths. Human beings do not move in one straight
direction. They move in arcs. In the same way, the arc technique is to help animation
create that illusion of movement. They are curved lines that action follows adding
natural flow, making animations seem more realistic and energetic.
10) Secondary action.
Secondary actions add another layer of realism and quality to an animation. The
secondary actions are the other limbs or objects moving along with the main action.
They are not the follow-through actions, which are inanimate objects reacting to the
main actions. They are the limbs that move, such as the character's arms swinging
rhythmically back and forth when walking. He could nod in time to music while taking
a stroll or blink or chew gum.
11) Timingt
Timing refers to the number of drawings or frames for a given action, which translates
to the speed of the action on film. On a purely physical level, correct timing makes
objects appear to obey the laws of physics. For instance, an object's weight determines
how it reacts to an impetus, like a push: a lightweight object will react faster than a heavy one. Timing is important for establishing a character's mood, emotion, and
reaction. It can also be a device to communicate aspects of a
character's personality.
12) Exaggeration
Exaggeration is an effect especially useful for animation, as animated motions that strive for a perfect imitation of reality can look static and dull. The level of exaggeration depends on if someone seeks realism or a particular style, like a caricature or the style of a specific artist. Other forms of exaggeration can involve the supernatural or surreal, alterations in the physical features of a character; or elements in the storyline itself. It is important to employ a certain level of restraint when using exaggeration. If a scene contains several elements, there should be a balance in how
those elements are exaggerated in relation to each other, to avoid
confusing or overawing the viewer.



.png)

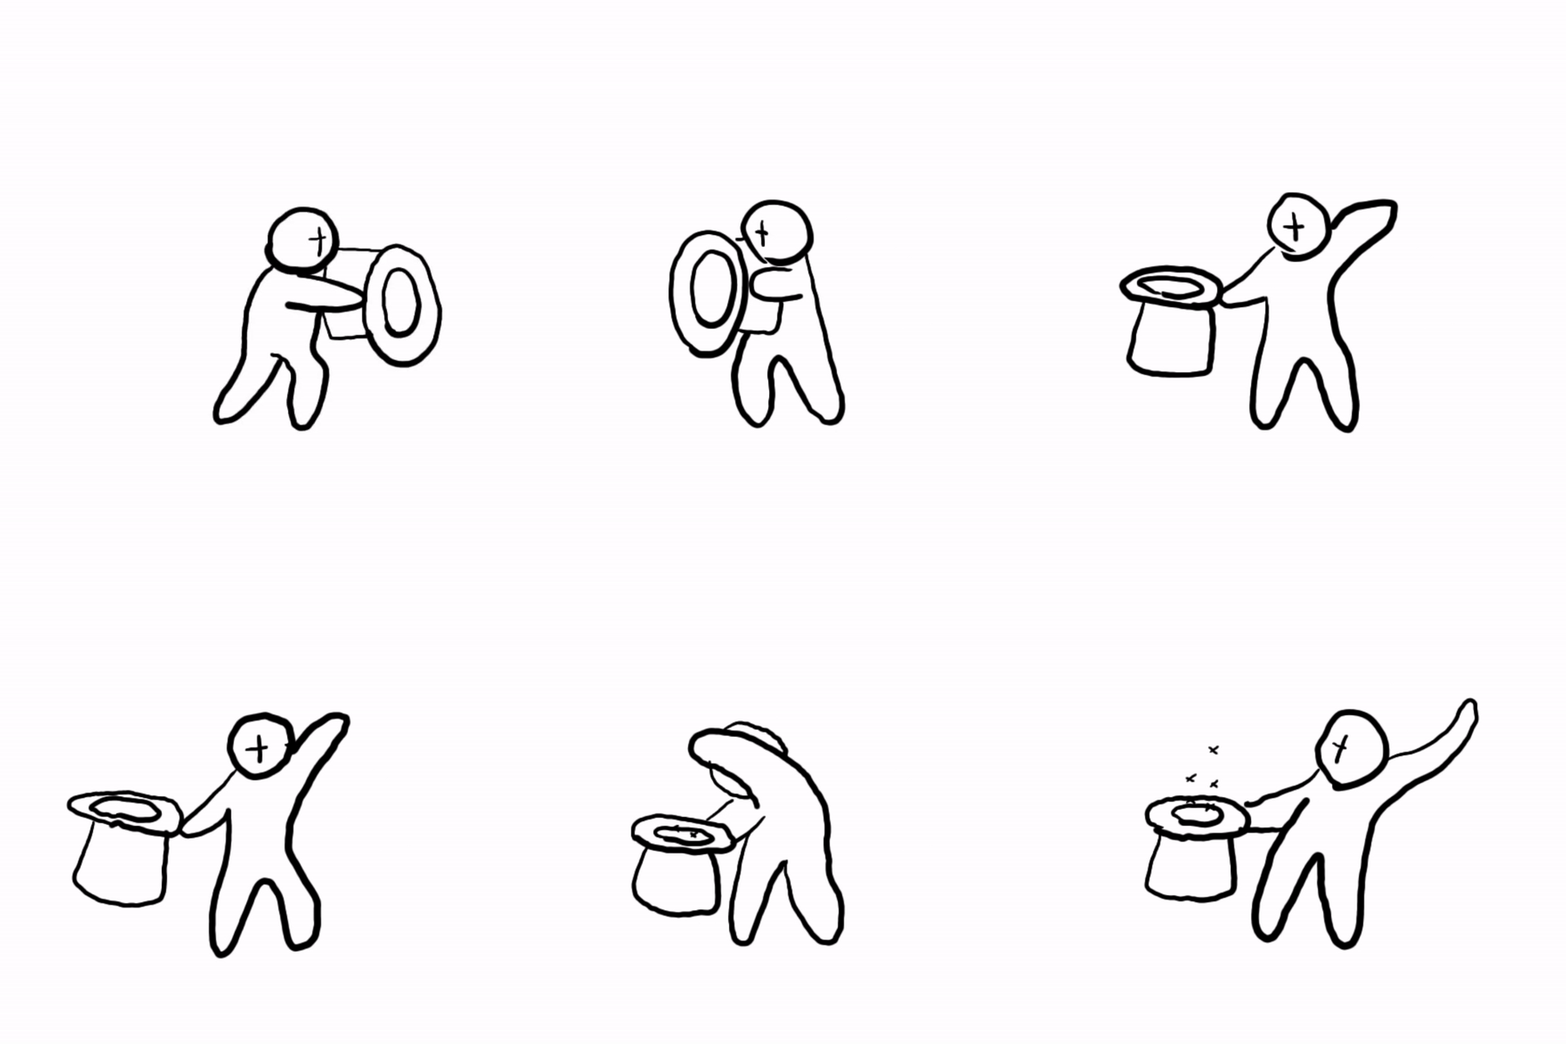

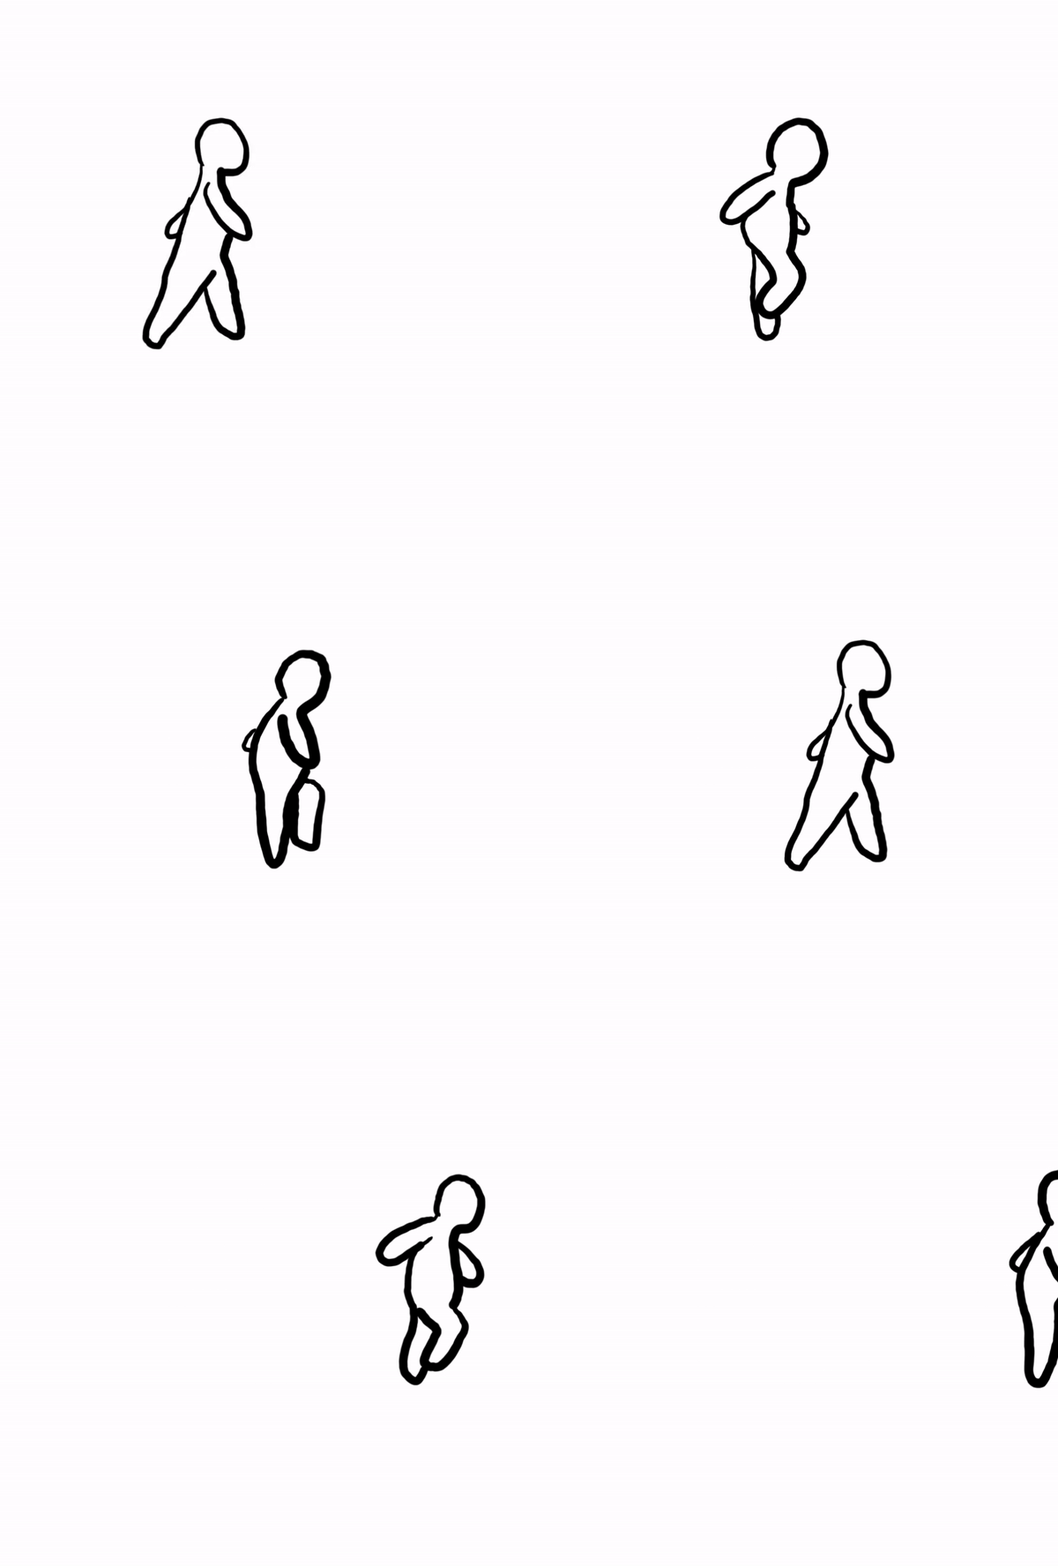
Animation techniques workshop
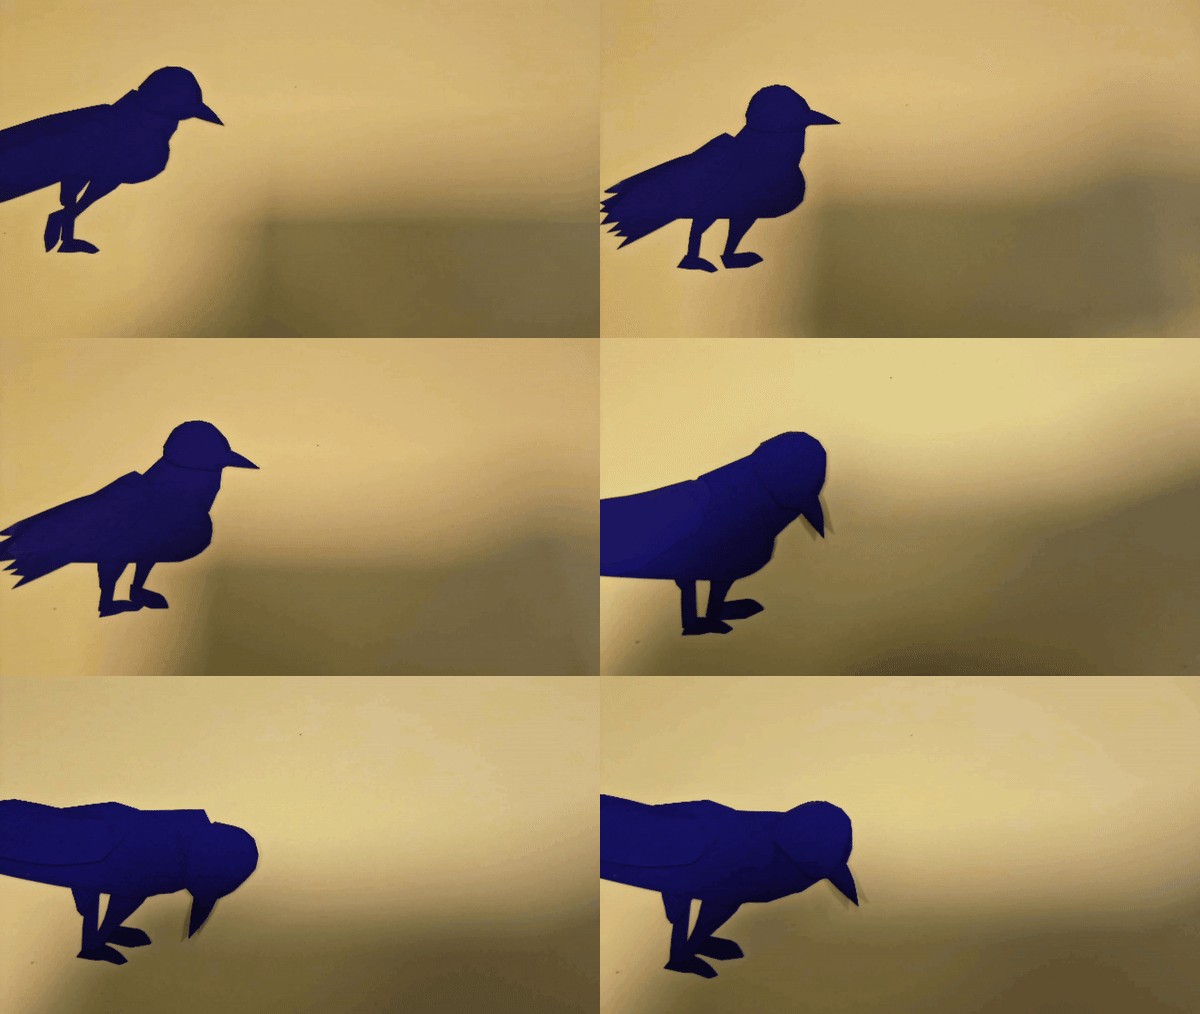


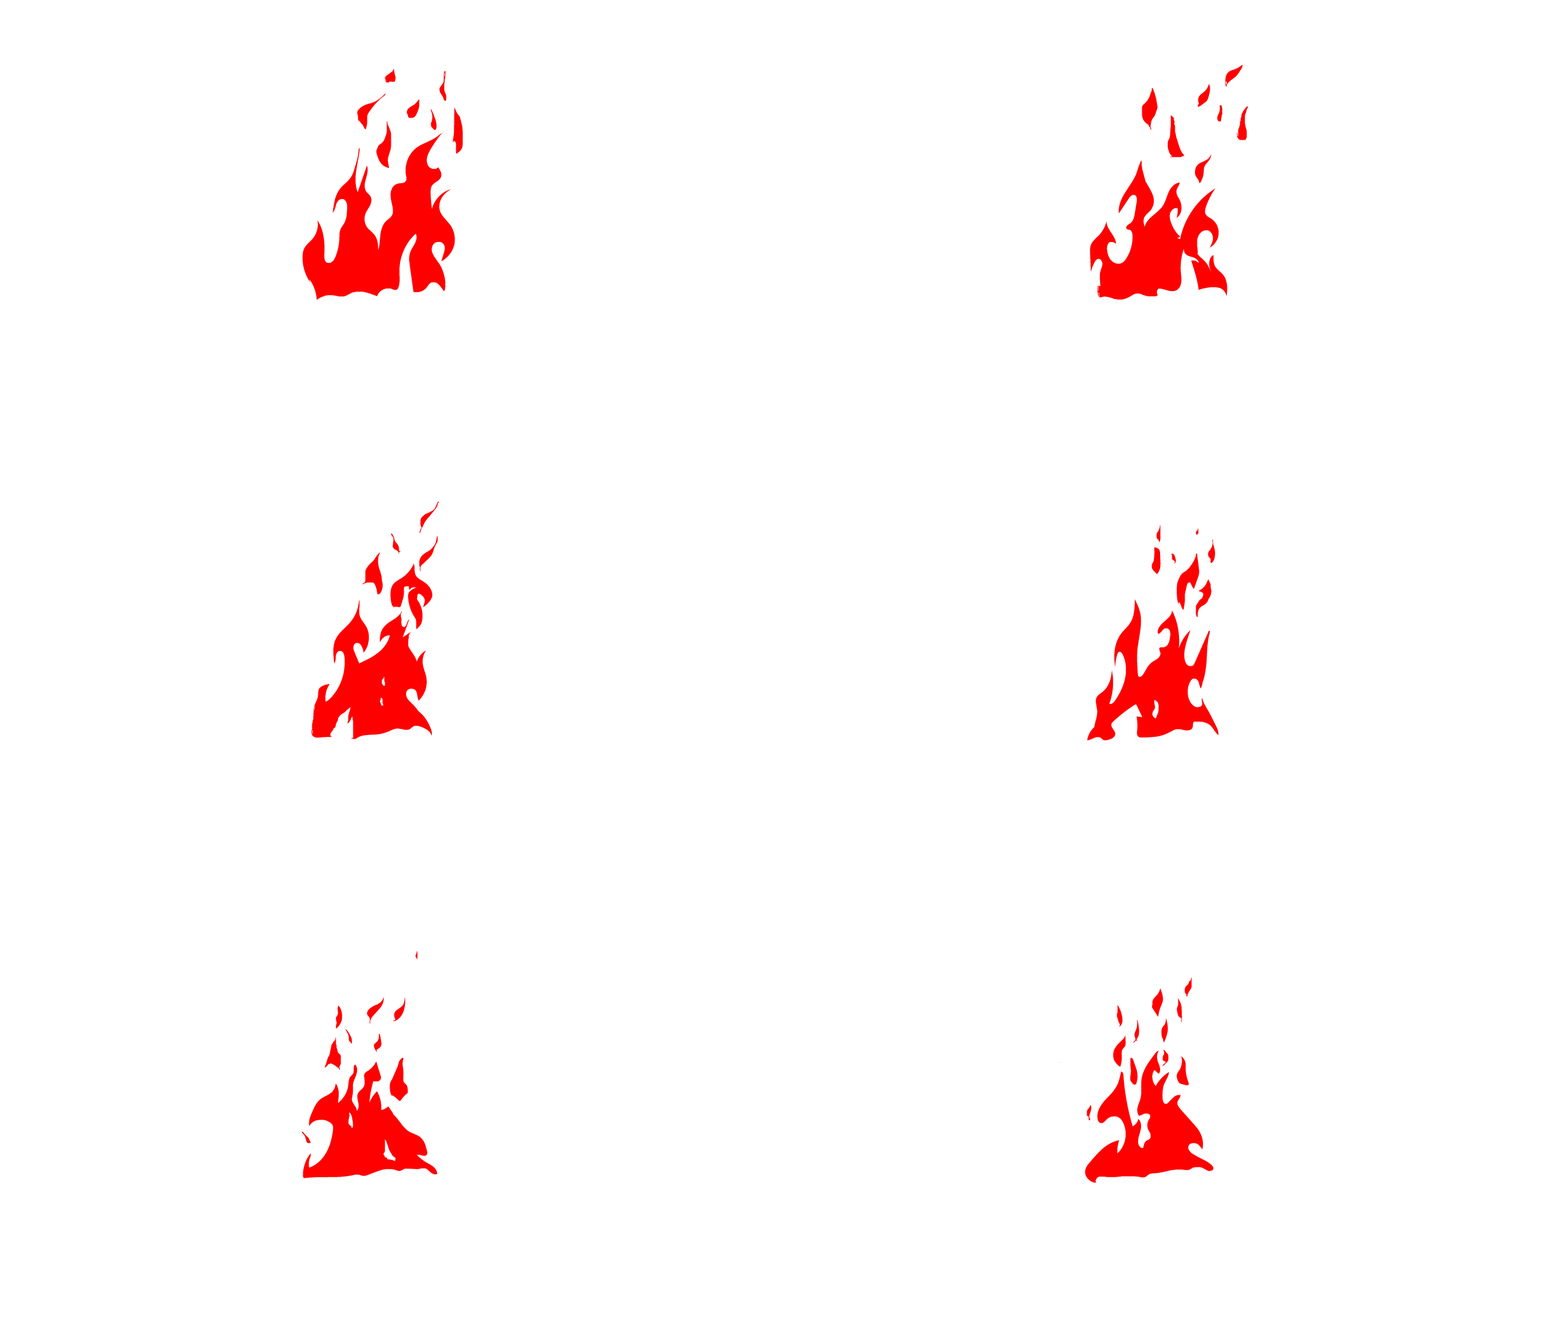
My stop motion animation. I took some yellow and blue ard, using yellow for background and blue for my character. I decided to do a bird as it symbolizes new beginnings, hope and freedom. The bird in general had quite a bit of layers, so it worked well with what I was trying to accomplish. The bird I chose to go with is a crow. Crows are scavengers and will look for food wherever they can find it so I wanted to make an animation on the bird packing for food but since it was my first time using stop motion, I only managed to animate the bird pecking and not the actual food going down, So now that I have a better understanding of using stop motion, I will in the future, animate the bird pecking food and showing the seeds going inside the bird's mouth. I will definitely use stop motion again except I will do more such as adding a background or adding different characters to make my scene better.
Researching Maya:


Maya is an impressively large, comprehensive, and
powerful 3D digital content creation program that
does more than just modelling. Maya's modules,
which include modelling, texturing, rigging, animation, dynamic simulations, and rendering, are mature and full featured. With Maya you can create lifelike animations with intuitive animation tools, build detailed 3D models with a powerful modelling toolset and Render high-quality 3D images in fewer clicks. Maya is used to develop video games, 3D applications, animated films, TV series, and any visual effects. This software can create heavy models, which help give Ultra 3D effects that create a realistic view at the user’s end.
Maya was originally developed by Alias Systems Corporation, which is now owned by Autodesk. The benefits of Maya is that it is great for 3D modeling, animation, and rendering. Its strengths are its flexibility, and its high quality output and is widely used in industries like film, television, and game development. With Maya you can create beautiful visuals, complex animations, and realistic simulations. Although the disadvantages would be that it can be complex and intimidating for beginners. Plus, it can be quite heavy on the hardware, requiring a good system to run smoothly while also being over all expensive. Maya has been used in the creation of many games such Assassin's Creed, Halo, and Call of Duty but also the use of Maya has been in Films such as Finding Nemo, The Incredibles, Shrek, Madagascar and Gollum from The Lord of the Rings was crafted in Maya. I have seen the majority of these films and also have played a few of the games too, I love the detail in them, the movement and the realism overall.
.png)
Using Maya:
.png)
.png)
.png)
.png)
Firstly, I started by creating a polygon sphere then scaled it up into a more rocket shape. Then I made my booster starting with a cylinder then use a combination of the scale and move tools to get it into place which helped with exact positioning. I then entered component mode to change its shape and used the scale tool to evenly widen them away from each other. After that I Cloned it 2x, I did that by dragging and selecting everything and went into Mesh then Booleans then Union. After that I another scaled cylinder and rotated it 90° by holding the J key. I then created rims by adding components then edge component mode and selected rings and dragged my mouse to end of rim while then scaling outwards. Once done, I cloned it, scaled it down and rotated it. I then made it all one object. For the rocket tip, I added a cone, pulled it to top of the rocket, rounded it out by squashing it down from holding b key. Finally, for the fins I added a cube then added subdivisions, after that I stretch it out then applied a flair so I could rotate it to create fins then added a bend to point the fins down. Once done, I then set copies to 3 and set rotate to 90° so each fin places around my rocket perfectly.

I really enjoyed using Maya as it allows me to use different tools easily and also has a different variety of tools that are very helpful with sculpting in general although I did find some parts difficult to understand. Even with tutorials I couldn't quite understand some parts so I had to change some of it to make it easier for me. Overall I am happy with how the rocket turned out and will use maya again in future work. Next time, I will try animating it taking off. Using squash and stretch to give the rocket more emotion and give it a smoother take off. I then possibly make it shake before taking off to give it a more realistic touch.
Walk cycles & Lip sync

Claymation History
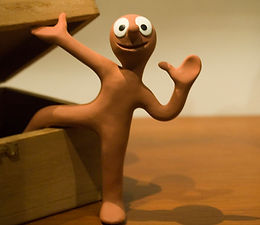
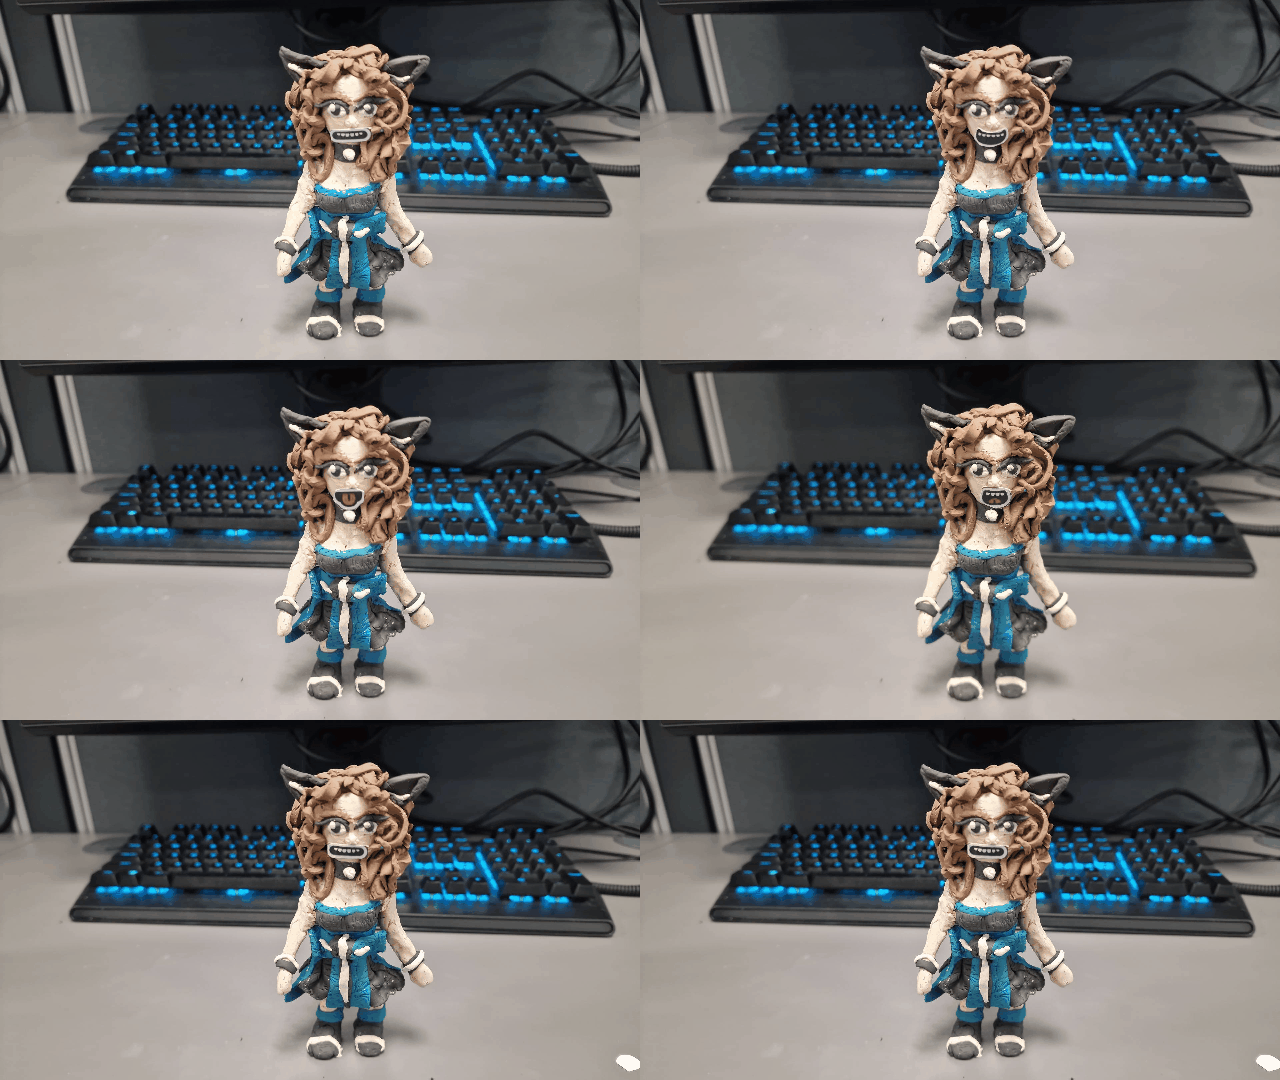
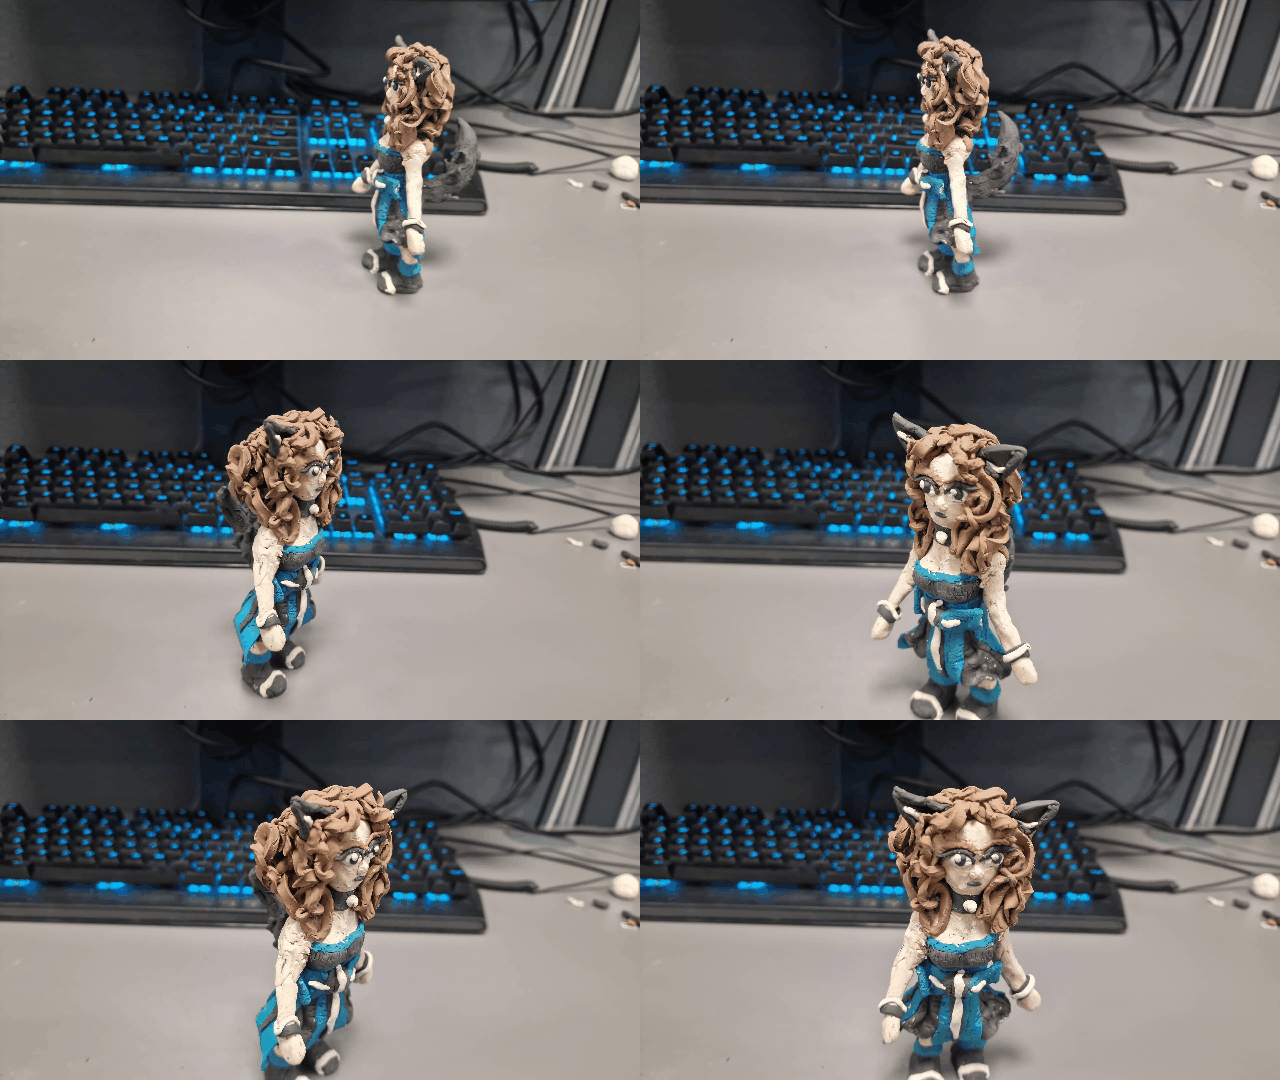
Claymation or clay animation is a form of stop-motion animation where each animated piece, including characters and some backgrounds, is constructed out of a malleable substance, which is typically plasticine clay. Each frame is recorded on film and then played back in quick succession to give the appearance of movement.
Each object or character is sculpted from clay or plasticine wrapped around a wire skeleton, known as an armature. It is then arranged on a set where it’s moved one small portion at a time to create an animation piece. Plasticine can be easily modelled and slow to dry and was the preferred method of early animation techniques in a few films shot in the early years of the 20th century. Initially, a preference for other animation techniques meant that clay methods were restricted to short sequences within larger films.
The term ‘Claymation’, trademarked 1978 by Will Vinton, is a combination of the words ‘clay’ and ‘animation’. However, even before ‘Claymation’ was even termed, clay animation has been around for as long as the early film era during the early 1900’s.
The sculptures nightmare is an early film that was the first to combine Claymation and live-action footage. Designed to spoof the 1908 US presidential election, It was directed by Wallace McCutcheon and was a combined live-action narrative with animated clay heads. The animation narrative is about 'a rowdy group of top-hatted gentlemen argue about who will succeed Roosevelt as president'.



Mary Poppins (1964)
Space Jam (1996)

Live Action Animation
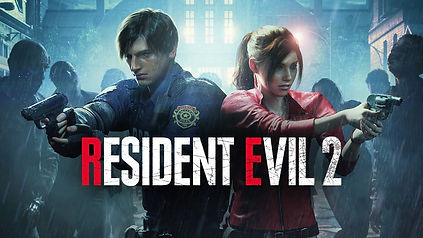
A live action animated film that combines live action film making with animation. Films that are both live action and computer animated feature films usually have fictional characters or figures represented and characterized by cast members through motion capture and then animated and modeled by animators. Films that are live action and traditionally animated use hand drawn, CGI or stop-motion.
Motion capture is the process of recording the movement of objects or people. In film making and video game development, it refers to recording actions of human actors and using that information to animate digital character models in 2D or 3D computer animation.
Rotoscoping:
Rotoscoping is an animation technique that animators use to trace over motion picture footage, frame by frame, to produce realistic action. Originally, live-action movie images were projected onto a glass panel and traced onto paper. This projection equipment is referred to as a rotoscope, developed by Austrian-American animator Max Fleischer who patented the first rotoscope in 1915. Projecting live-action film of a clown onto a glass panel, Fleischer then traced the figure frame by frame on paper in order to create more lifelike animation. Using this animation technique, Fleischer created the short film series Out of the Inkwell and made his brother’s clown character (Koko the Clown) famous. Fleischer would go on to create other classic animated characters like Popeye and Betty Boop. He used rotoscoping to make their dance moves look like those of professional dancers. He also used rotoscoping to achieve surprising realism in the first Superman animated series. After Fleischer’s patent expired, Walt Disney used his rotoscoping technique. Actors performed scenes and, from that footage, their movements were rotoscoped to use as reference material for many films, starting with Snow White and the Seven Dwarfs. Rotoscoping has often been used as a tool for visual effects in live-action movies. By tracing an object, they create a silhouette that can be used to extract that object from a scene for use on a different background. The technique of rotoscoping also made the lightsaber possible. To create these visual effects in the original Star Wars films, animators drew the colour and glow of each lightsaber over the sticks the actors held on every frame in which they appeared.
Cool world (1992)


Rotoscoping
.png)
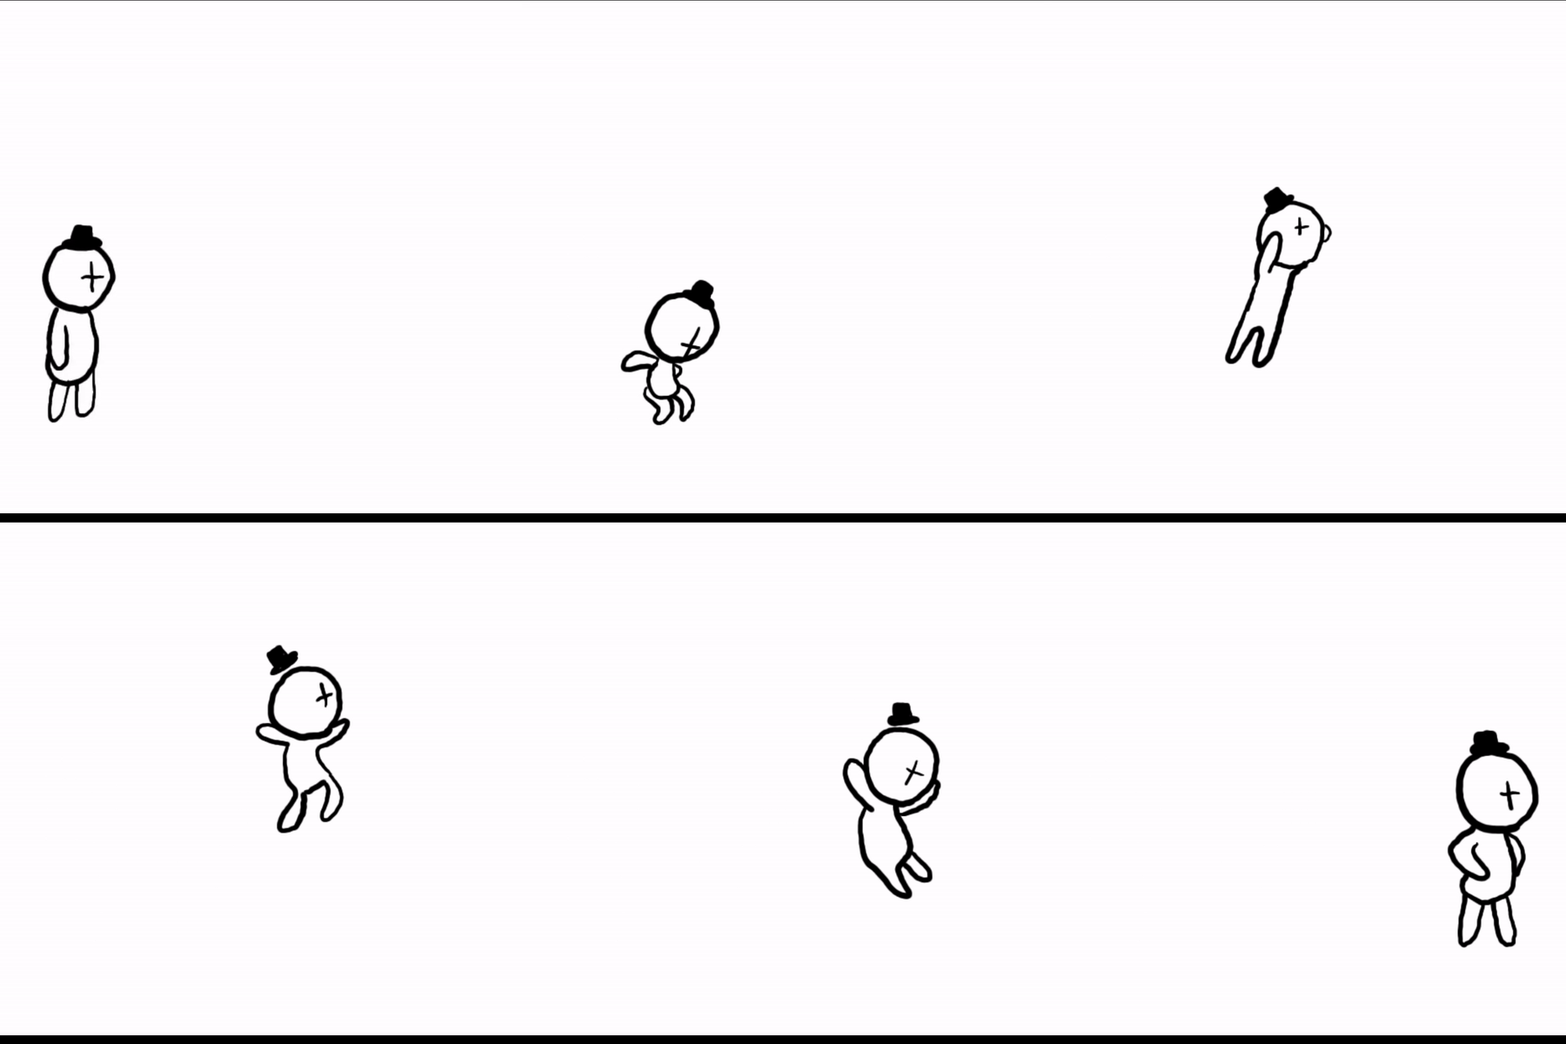
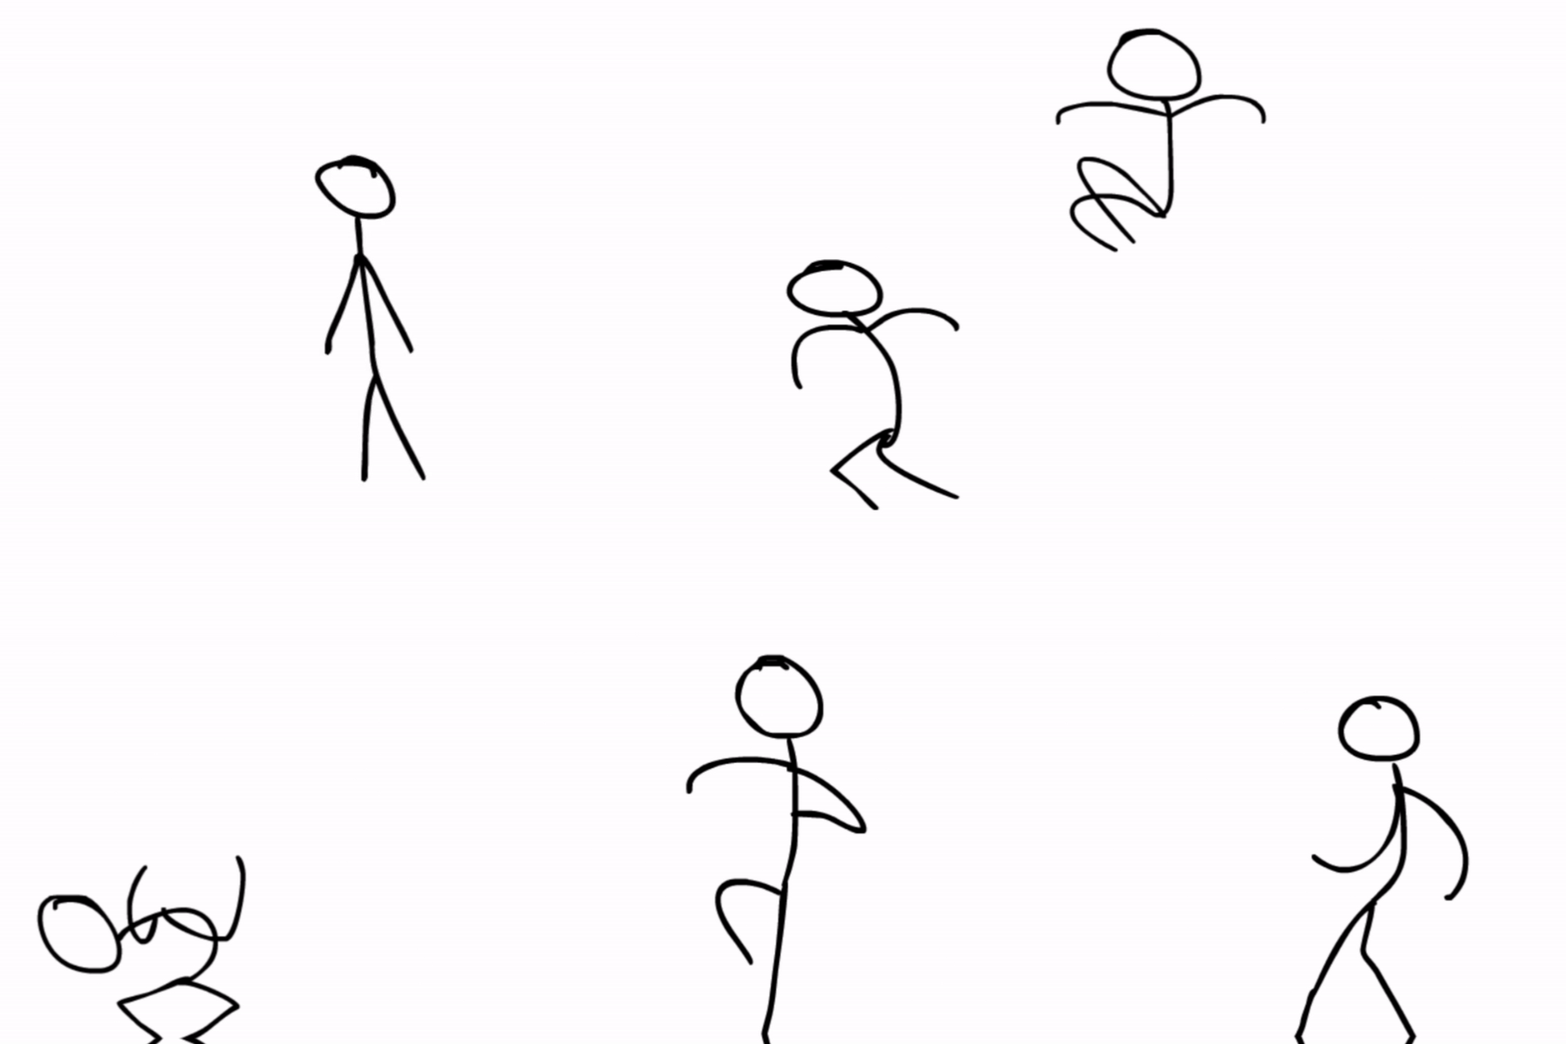
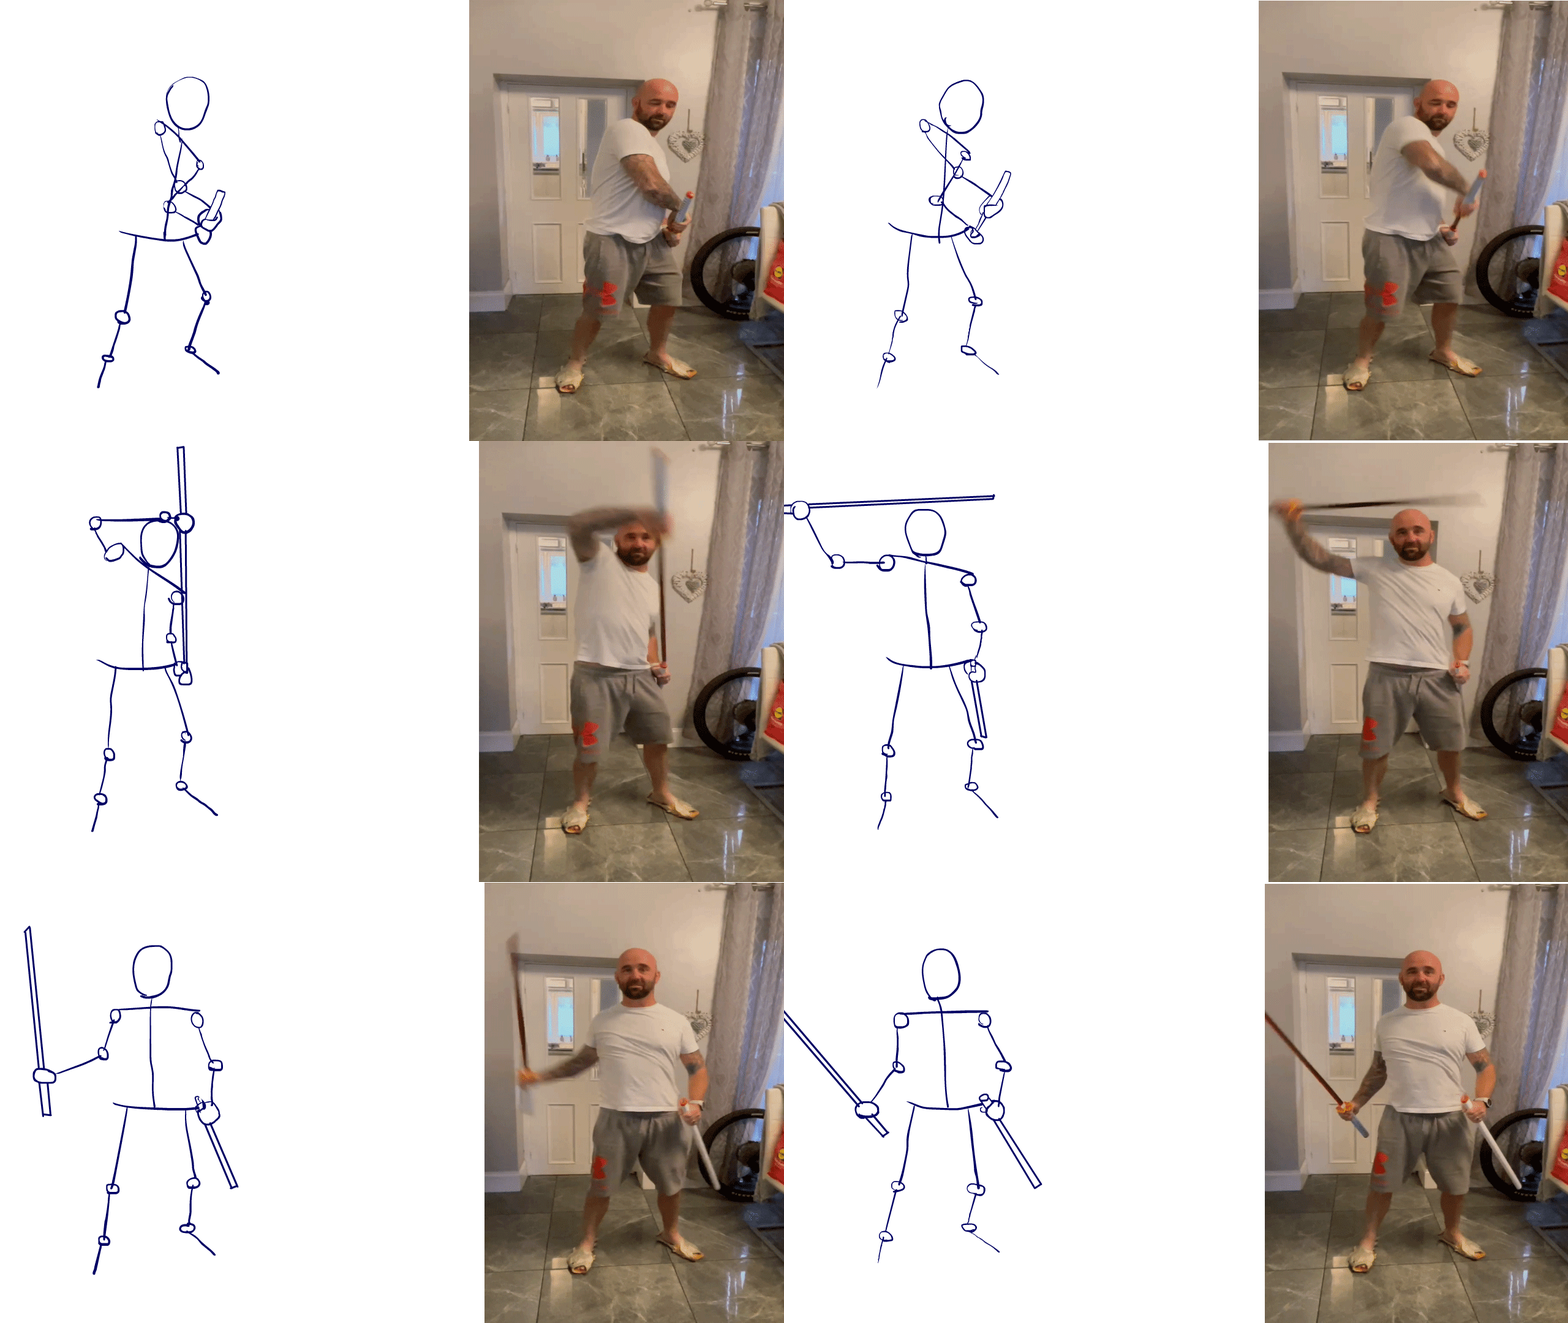
Firstly I recorded my brother in law doing some live action poses with a katana. I then used adobe Gif converter to turn my video into a gif. After doing this, I then used adobe animate and dragged in my gif then by each frame I created a key frame and traced over the body and katana creating a stickman. During the drawing I drew circles for the head, knees, ankles and elbows, this was to show where the joints are so it makes the animation look cleaner when the pose is bending its arms or legs then completing it by joining them together by lines.
.png)
.png)
Evaluation
For this project, we had to create a live action animation. This is where you animate over a real scene, you can also combine these two elements which people use to create music videos, games, and movies. For mine, I had to animate over a action pose with a stick man. I feel like I've learned a lot during this task, not only have I learned more about keyframes but also has helped with anatomy and how the body moves during certain animation scenes. Using rotoscoping allowed me to create lifelike characters who move just like people in the real world. Drawing the stick figures I found quite easy to do when animating since I use it when drawing the anatomy of a person. Walt Disney used rotoscoping in Snow White and the Seven Dwarfs in order to make the human characters' motions more realistic which is the out come I wanted with the realistic movements so I was inspired a lot by them when doing this animation. I decided to use a katana with the action pose because I love animation with sword fighting scenes. I find there are a lot of poses you can do with one in hand even if its just pulling the sword out or even fighting with it although animating wise it was quite difficult to draw the sword as a swords blade is very straight. I ended up using a line tool for this to help make it look more realistic. On the other hand I really enjoyed this project and I find it went well and in the future id definitely try and do a figure over this to try clothes movements.
Blender
What exactly is blender? Blender is a free and open source 3D Computer graphics software. You can use it to create animated films, visual effects, 3D printed models, motion graphics, interactive 3D applications, and computer games. To break it down: for modelling blender can help with creating, transforming, sculpting and editing your models and as for Animation and Rigging, this is where you can bring your models to life by creating complex animations with blenders tools. With Blender you can also Render and add VFX such as smoke, fire and rainstorms to your animations. To follow on from that Blender can also allow you to use Simulation which means you can create life like events such as a crashing wave or a crumbling building. You are also able to edit your animations in blender and can even create your own games or models.

To start off, I deleted The starting cube object and added a cylinder. I then changed the vertices to 10. By clicking S I was then able to scale the top half of the object to give it the jelly shape. Then by selecting face mode. I selected the faces other than the top and bottom. Then extruded the individual faces. Giving the bump in the Jelly. I then added Subdivision Surface as my modifier. I then changed the viewport to three and the render to three and finally added shade smooth to smoothen the Jelly out. I then switched to edit mode and created a loop cut. This allows me to smoothen the Jelly upwards but also making the surface flat While also expanding the width of the Jelly. For the cream, I created the path and added a Bezier curve, Bezier and Beizer circle then moved the anchor points inwards turning the Bezier into a bridge. For the Bezier circle I selected the Anchor points alternately and scaling to the objects downwards. and then selected the Bezier curve with the geometry dropper and then the bezier circle with the Bevel dropper. Which created the whipped cream. I then bring the anchor points to both ends to create a rounded cream. Now that the cream is done, I then clicked G+Z To bring the cream across a then up to the Jelly. Then clicked G to move the cream points around the jelly and pushed the pass with the E key and rolled the cream with clicking E to extrude. Then Set the origin to geometry. Then gives the G key again to step the whip. For the plate. I clicked shift and A to add a circle. Then scaled the object outwards. Then filled face by clicking F And added shade smooth Then added a subdivision surface modifier Changing the viewport to three and render to three. Then by clicking G+Z Then hold the object down to create a plate dent. I then added a plane and scaled it outwards. Then by selecting edge mode I selected the multiple objects on the plane and extruded to Z axis Which created a wall. Selecting the multiple objects on the wall. I then clicked ctrl and B for Bevel which smoothened the wall out. But to smoothen it even more, I added shade smooth. For the lighting I deleted the lighting object and added an area then change the power to 1000 watts.
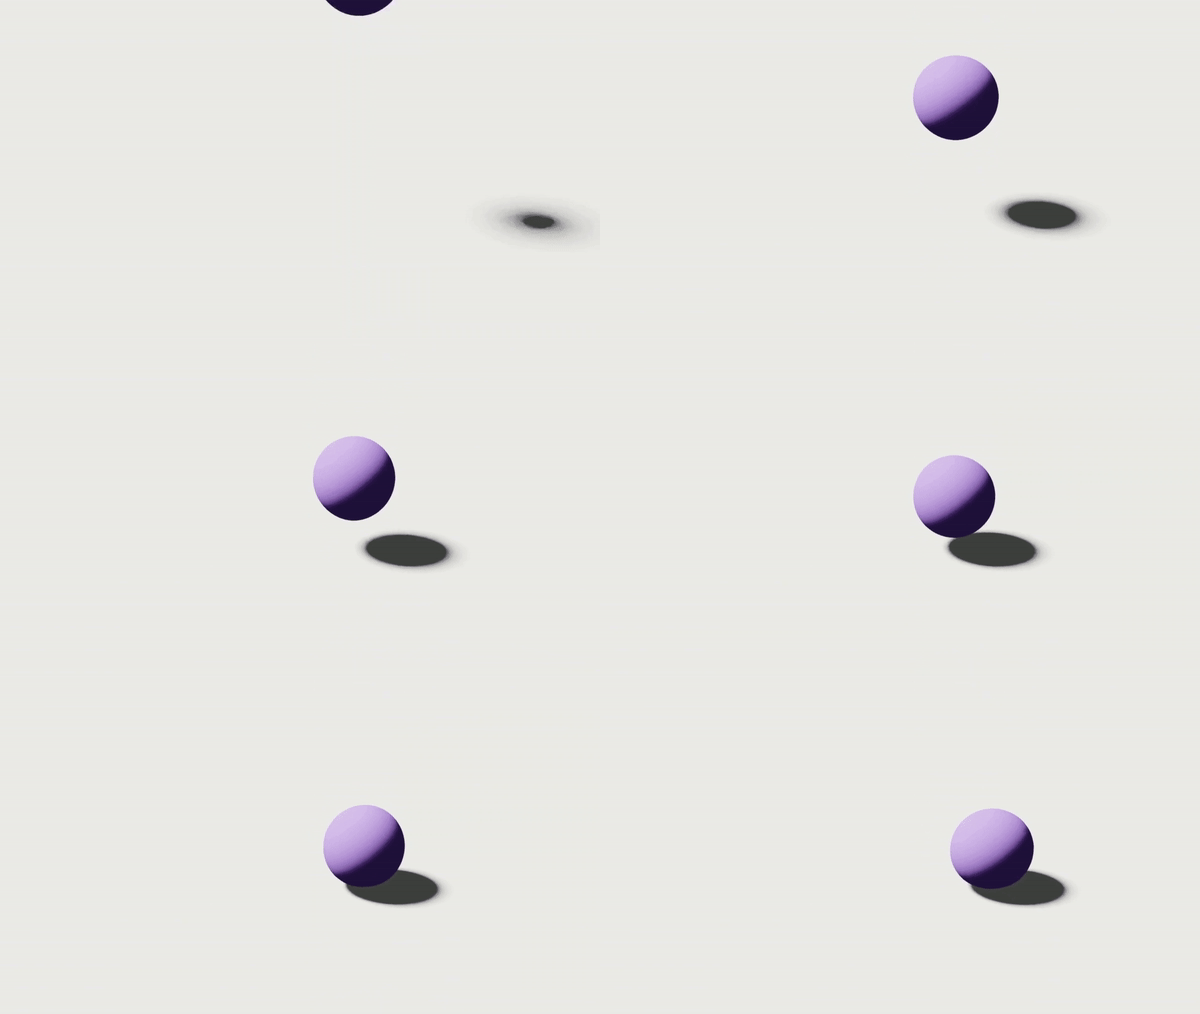
In Blender. I decided to sculpt a Jelly. I found by looking at other tutorials this was the best one for me. I attempted to sculpt a frog in Blender first but unfortunately, this tutorial was too difficult to understand. I was deciding between sculpting a doughnut or sculpting a Jelly, but I found that with the Jelly I could then take that in the future and animate it. Comparing it with Maya. Maya was easier to understand. But I enjoyed blender more with the tutorial that I found. With Blender there were a lot more lighting options and I really like the fact that it could make my Jelly more realistic and give it more of a Jelly like look with the shine and the wobbly effect. In the future I would like to look more into Blender as I find that I could do a lot more. When I created the bouncy ball, I found that tutorial easy as well. I did watch a few and I did find that a lot of them were trying to make it complex when there were easier versions on how to make the animations. Although. I find that the settings for the animations were quite hard to find, but that will come with time, and I would like to use Blender again in the future. I did try different colours for the bouncy ball, but purple suited the best for the lighting. In the tutorial It was said. To do an option that will make it more high quality, but it ended up taking too long so I had to find the setting to change it so it would render quicker. This turned out well and did not reduce the quality at all.


For my games art cover I have decided that the platform I will be designing will be on Xbox since it is not only the platform I play on but it also has the games I will be using for my ideas on that platform. Following on, for my genre I will be doing it on fanstasy and adventure as I find they always have beautiful colours in the scenery, outfits and the overall characters. My audience would be a 12+ as it would have some parts that would need more thinking such as fight scenes, paths and picking the right choices.

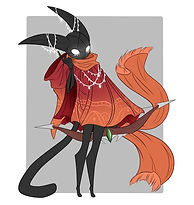
For my inspiration I have been looking at 3 games which are Ori and the will of the wisps, Rin The Last Child and the game Stray. I love how beautiful the colours are in these games and how they make certain elements glow, which allows the character to appear in the dark/on dark scenes. The visuals are just beautiful overall. I really love the background and how the change of music would suit the scene your in, for example if the music is intense there will probably be a fight scene or a scene where you have to run away. When going for my character design I would like to create a character with glowing elements to allow them to stand out like the main characters of the games I chose as inspiration.
%20_%20X_jfif.jpg)


_jfif.jpg)
_jfif.jpg)
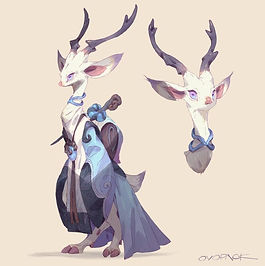


When designing my character, I took some inspiration from photos from Pinterest. I decided I liked the idea of having glowing parts on the outfit. I also wanted to add animal features on my character. I decided to do a owl like headpiece with the feathers going across her eyes as Owls represent wisdom, When it comes to playing my game, you have to think for the majority of the game So I find an owl fits perfectly into my character. As for the tail I decided to do a deer as a deer represents power, sensitivity, intuition, and gentleness. For the game, I wanted a sister Bond So she is searching for her lost sister But due to a memory loss from a spell that was cast, She cannot remember the place where they used to hang out so along the way you have to find clues to help her find her lost sister. Her name is Spirit, as she is the spirit of the owl and the dear So for my title, I decided to call it “Spirit. the Land of the Lost”. While designing my character and digitally I want this to make the background very dark while keeping her glowing So then she stands out. As I was designing her, I decided to add glowing parts in her eyes as I found the glowing parts on her outfit was not enough. Overall, I really like how it turned out and I think the character went as planned although next time I could try different animals to experiment with my game design more.
.png)


_jfif.jpg)


_jfif.jpg)
.png)
.png)

.png)
.png)
I decided to create a pixel game as I would like to bring back that sense of nostalgia. The pixelated style adds a unique charm and a touch of retro, making the game more intriguing. For my levels I wanted levels with increasing difficulty and various types of demons and ghosts so that the people who play my game are constantly on their toes with each level they pass but also feel the Halloween spirit while playing. For each level I wanted to create a skin to unlock which you can select in the characters tab. Once you save a character from the Ghosts/Demons you can then unlock that character, giving new challenges for each character which then give you coins and you can purchase new weapons and skins to use. For my main character I decided to base him off Cole Cassidy from Overwatch. I Really like his character design and I find he suits the game I'm designing. I based my default skin on a fan made concept of that character as it gave me "demon hunter vibes" straight away. I also based my game on the Netflix series stranger things as I wanted the bonus levels to be upside-down making it harder for the player. The colour scheme I went for is reds, greens, purples, blues and browns as I find they fit perfectly for the demon hunter look I was going for. To create I really love how this turned out
.png)
.png)
.png)
.png)
I'm a paragraph. Click here to add your own text and edit me. It's easy.
.png)


Premiere Pro
